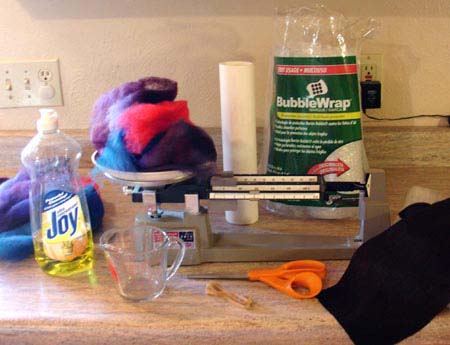
Supplies you will need:
|
|
Supplies you will need:
|
|
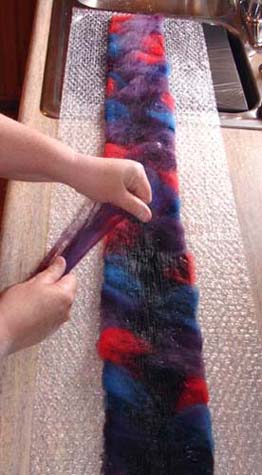
The other thing to keep in mind is that some parts of the fabric will be exposed in the final item ... this is considered to be a "design element" (this means, I meant for it to look this way, it is intentional) and is NOT an accident nor a mistake.
If you want to cover the fabric entirely, then you will need to use just a small amount more wool.
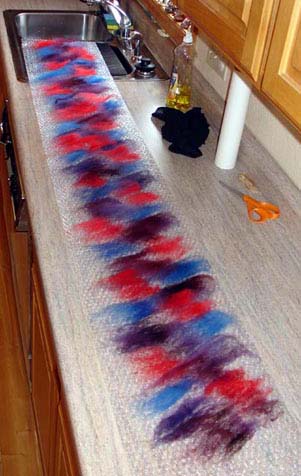
The long piece of fabric can be cut with square ends, with rounded ends, or with a pointed end (like a man's tie). Cutting the shape of the fabric will determine the final shape of the scarf. Using the gauze fabric, there will be shrinkage of the fabric ... as with wool shrinkage in felting ... you are losing air spaces, not fiber. Gauze may come in black, white, or colours.
This cutting or shaping of the fabric should be done before the felting is done, not after the scarf is finished.
To figure out how much wool to use for your scarf:
(1) figure out the number of square inches of gauze fabric: length X width = square inches (for example: 7 inches X 72 inches = 504 square inches)
(2) to say how much wool is needed: multiply the square inches X .035 (for example: 504 square inches X .035 = about 18 grams of wool per side or 36 grams total for both sides of the scarf)
Notice that this is only a bit more than an ounce of wool roving needed for this size of scarf?
Divide the 36 grams of wool into thirds, so that you don't use too much per side ... use about 2/3 rds for the first side ... the rest on the other side (the final, "up" side)

|
|
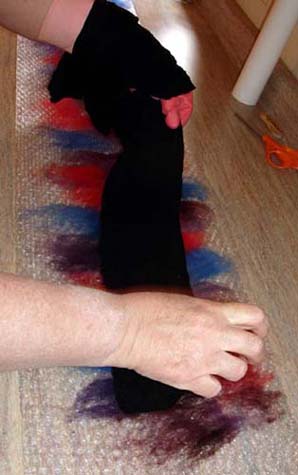
Wet the piece of gauze fabric with cold water, then press the water out of the fabric.
|
|
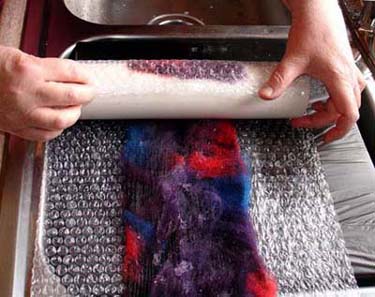
Pour 1/2 cup of hot soapy water in small drizzles up and down the fabric.
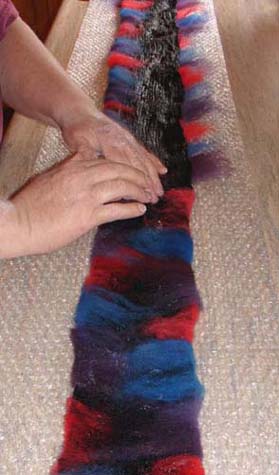
Carefully fold the wool that is on the edges of the fabric over the edge of the fabric, and gently press it into place. You are also working the soapy water into all of the fabric and wool.
|
Take the remaining roving that you had put aside for the second side, and pull off wisps of wool to cover the remaining exposed fabric, working thinly as you had laid out the wool for the first side.
|
|
|
|
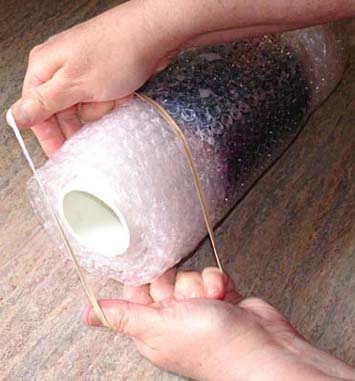
Use a rubber band to secure each end of the rolled up package. Place the rubber band as close to the edge of the wool as is possible, without being on the wool.
How many times to roll on each side? You can count the number of times ... about 150 rolls per side, or you can time yourself, and do so-many-minutes per side.
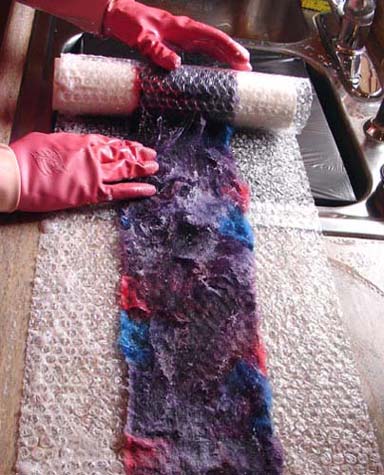
Unroll the bubble wrap, place the roller at the opposite edge, re-roll the package, and roll the same number of times again.
Unroll the bubble wrap, and very carefully turn the felting over the whole length of the scarf.
Repeat the rolling as above ... 150 times, then unrolling and placing the roller at the opposite end and rolling another 150 times.
Repeat all of the above until the felting is complete. You will know this has happened when the wool will no longer move and is fixed onto the fabric. (You will probably have rolled the package at least 450 times to 600 times)
Once you have finished with the felting, unroll the scarf and place it into the sink with hot water. Move it around and remove the soap.
Place it into a sink of cold water and remove the last of the soap.
[an error occurred while processing this directive]